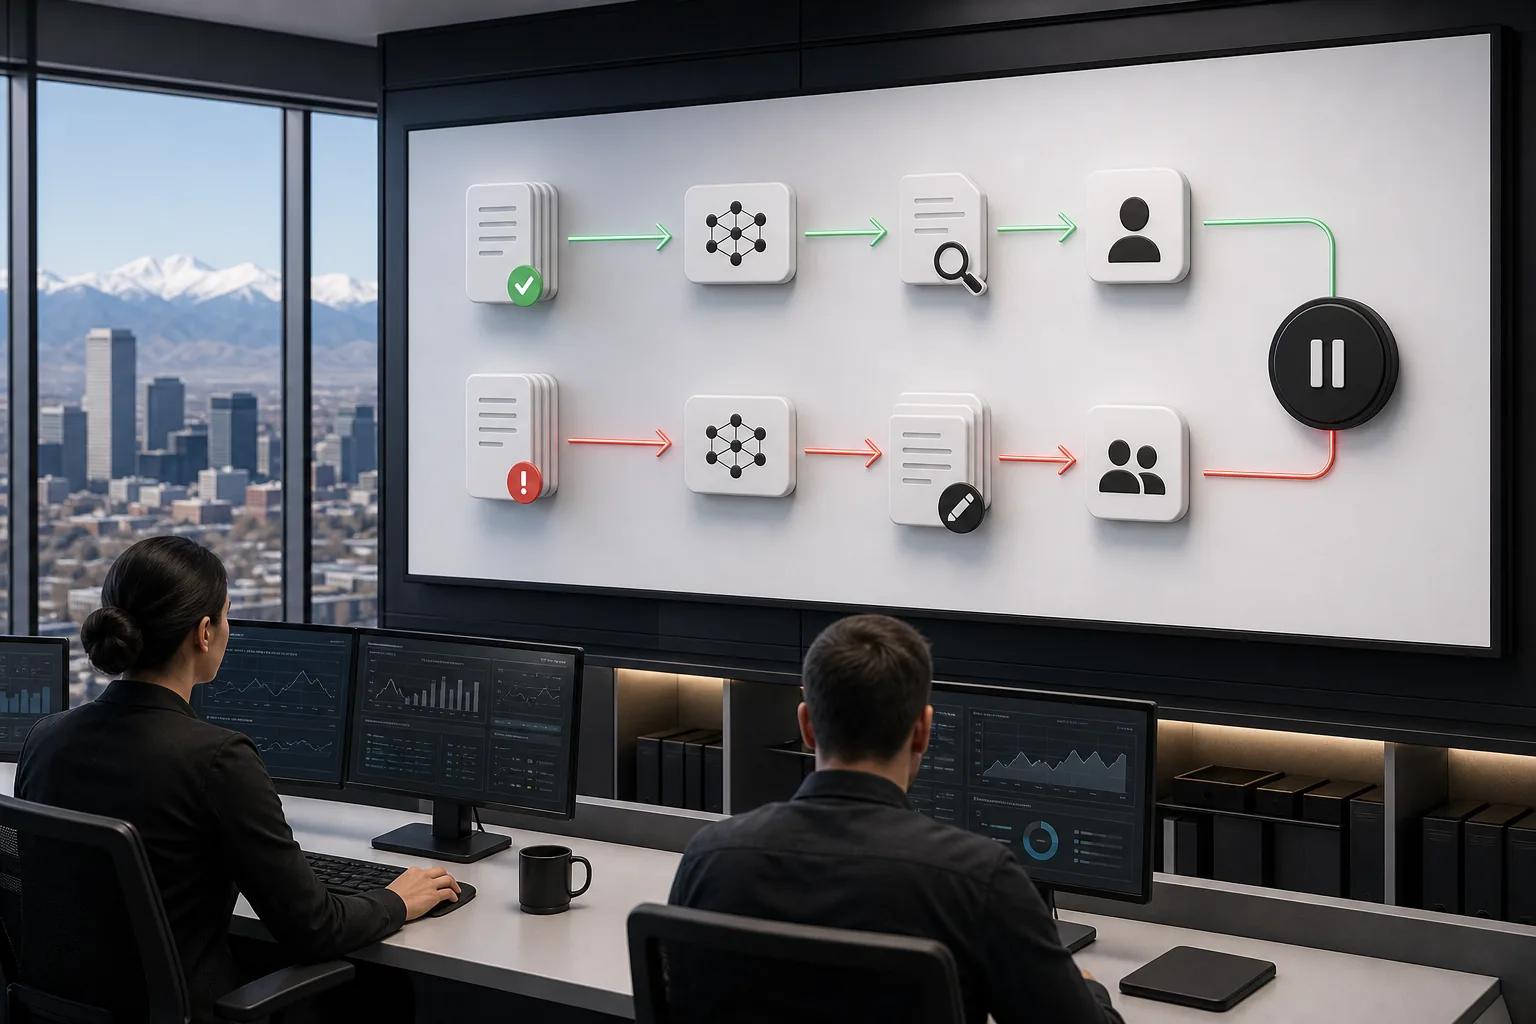
AI automation can look healthy while quietly sending wrong data or taking the wrong action. The best AI automation monitoring best practices start with clear owners and risk-based checks, then track whether each workflow still does its job. We’ll walk through five steps to set that up.
We analyzed 5 top pages on AI automation monitoring and found only 1 of 5 defines a stop rule pausing a misbehaving workflow. Only 1 of 5 also names a business and technical owner for alert routing, and 2 of 5 re-run tests after every change.
Step 1: Define Your AI Automation Monitoring Best Practices by Risk
Start by naming an owner for the business result and an owner for the technology. The business owner defines what a good outcome looks like. The technical owner maintains the integrations, access rules, logs, and release process. Without both, a workflow can fail without anyone knowing who should respond.
Set review rules based on the action’s impact. A draft summary may need a sample check. An automation that changes a customer record or approves a payment needs tighter limits, clear approval rules, and a way to pause it. Zylo reports an approximate 3.4× median 12-month ROI across delivered roadmaps, and its work uses six-week production cycles with senior-only pods. Those results point to an operating principle: assign responsibility and measure outcomes before adding more tools. See Zylo’s AI workshop and roadmap process.
Write down the purpose, owner, allowed actions, failure risks, and stop rule for each workflow. A stop rule says when the system must pause and send work to a person. For example, pause a claims workflow if required data is missing or the system tries to change a record outside its approved scope.
Give each workflow a short entry in an ownership register. Include who can approve changes and who can switch the automation off. Keep those responsibilities active after launch with ongoing monitoring and maintenance.
By now, each automation should have two named owners, a risk level, and a clear stop rule.
Step 2: Instrument the Signals That Show Whether the Automation Works
Measure the whole task, not just whether the model or API is online. A workflow can return a successful status and still put an incorrect answer in the wrong system. Track signals across five areas: liveness, speed, output quality, cost, and coordination between steps or agents.
For each run, capture a unique ID, the workflow version, the model version, start and end times, and the final result. For a tool-using agent, log each tool call with its status and duration. This lets an engineer trace a bad outcome back to the step that first went wrong.
Add measures that match the work. Track completion rate and failed actions for a record-update workflow. For customer support, sample answer quality and count how often a person corrects or takes over. For a process with a spending limit, track cost per completed task and set a pause threshold.
Connect technical measures to a business result. If a workflow is meant to reduce time spent sorting cases, track time to a correct handoff, not only response speed. Set a baseline before launch so a later change has a fair comparison. Review a sample of finished tasks, label the result, and note where human corrections were needed.
Keep logs useful but limited. Redact sensitive values before storage, restrict access by role, and set a retention period that fits your audit needs. The goal is to diagnose a run without exposing data that the team doesn’t need.
Choose a collection method that fits your stack. An SDK gives a team direct detail inside code it controls. A proxy can collect traffic at a shared boundary. OpenTelemetry can help carry traces through services when the team already uses it. A hosted service may reduce setup work, while an open-source setup can give the team more control over where data lives. Compare options by the signals they capture and the work needed to keep them running.
By now, you should be able to follow one run from its trigger to its final business outcome.
Step 3: Re-Test Quality After Every Meaningful Change
Keep a fixed set of test cases and run it after any change that could affect results. Include common requests, edge cases, missing data, and cases that should be refused or sent to a person. This catches quality drops that uptime checks won’t see.
Save examples from real work, but remove sensitive details first. Label each case with the expected result and the reason it matters. For a support agent, one test might check whether it routes a refund request correctly. Another might check that it doesn’t invent a policy when the source content is missing.
Make the test repeatable. Store the prompt or instruction version, model version, input, expected result, and observed result. Evaluations can help assess agent behavior. Use the same principle with your own workflow: compare a changed version against a known set of tasks before release.
Review results with more than one signal. An automated score can help sort cases, but it shouldn’t be the only judge of a high-impact action. Have a person review failures that could affect money, access, customer records, or safety. Track the kinds of errors that matter to your business, such as unsupported answers or incorrect tool use.
Set a release gate before the test runs. For example, block deployment if a change causes an unsafe action or drops below the agreed quality level. If a test fails, identify whether the cause is the prompt, model, data, or connector before changing several parts at once.
Maintain a standing evaluation set and re-run it after any source, connector, prompt, or model change to detect regressions.
By now, each meaningful release should have a test result and a named person who approves the change.
Step 4: Catch Silent Degradation in Data and Connectors
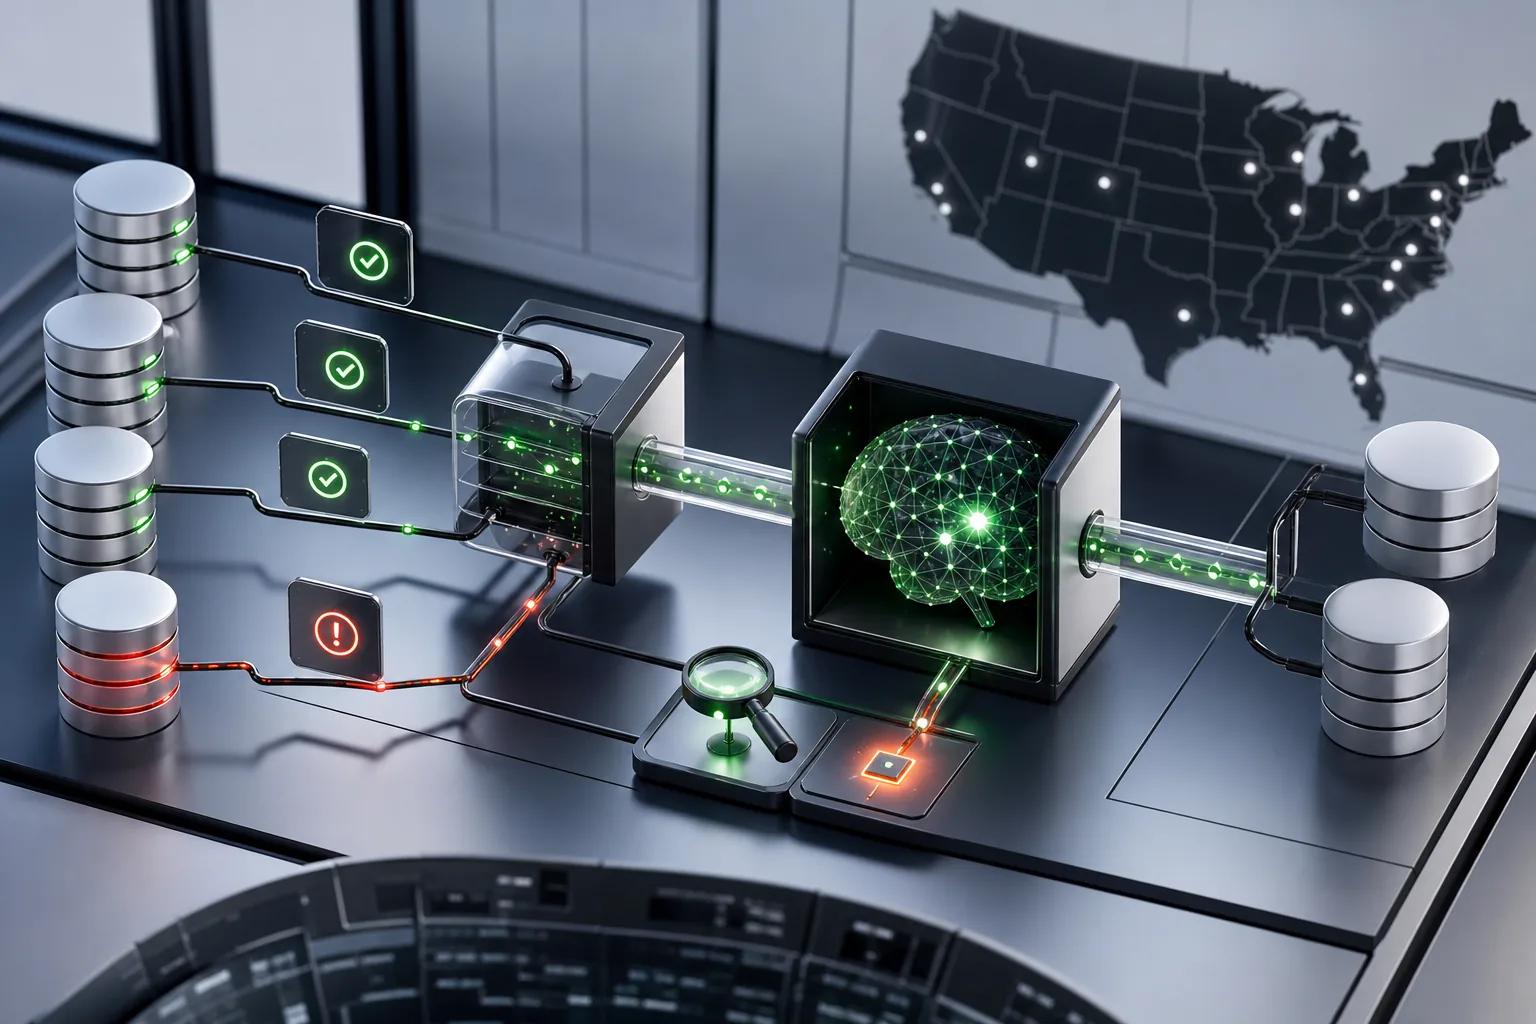
Check what the automation receives, not only whether its connection is up. A connector can work while a source gets stale, a field changes name, or an expected record stops arriving. The result may look like a model problem when the input is the real cause.
Set checks for data freshness, required fields, duplicates, and expected formats. Record when each key source last changed and which source counts as the approved version. If two policy documents disagree, the automation needs a rule for which one to trust or a path to human review.
Review connector health on a set schedule. Confirm that syncs are current, expected records are arriving, and schema changes haven’t broken a downstream step. For a workflow that depends on an outside service, also track API response time, error rates, and failed requests. Route a source-data alert to its data owner; route a service alert to the technical owner.
Watch for changes in input and output patterns over time. A drift signal is a change from the behavior you expect, such as a rise in empty search results or a new class of requests. Drift alone may not mean the system is failing, so compare it with output quality and business outcomes before taking action.
If an alert fires, check the affected time window and compare it with recent changes. Confirm the source arrived on time. Then check the expected fields and the connector’s last successful run. Preserve the run ID and relevant logs so the team can see what happened.
By now, you should be able to tell whether a poor result came from the model, its input, or a broken connection.
When a failure needs deeper review, use a run review to reconstruct what happened from its first input to its final action.
Step 5: Turn Alerts Into a Safe Response and Improvement Loop
An alert needs an owner and a next action. Define what happens when a signal moves outside its expected range: watch it, send it for review, limit the workflow, or stop it. A low-risk latency warning may need investigation. A policy breach or unapproved action may need an immediate pause.
Keep alerts tied to useful evidence. Include the workflow name, version, run ID, failed step, and the person who owns the response. Avoid sending every small change to the same channel. Route a data issue to the source owner and an integration issue to the technical owner. This cuts noise and gets the alert to someone who can act.
Build a short incident path. First confirm the signal. Then limit the affected workflow if risk is rising. Review the trace and recent changes before making a fix. If the system could cause harm or make an unauthorized change, stop that path until the team understands the cause.
Record what happened, who made the call, and which check will prevent a repeat. Turn each confirmed issue into a new test case when it’s safe to do so. That way, the evaluation set grows from actual failure modes instead of guesses.
Review business outcomes on a regular schedule, too. Compare the time or effort saved with review work, correction rates, service costs, and cases sent back to people. A workflow that completes more tasks but creates costly rework isn’t doing its job. Zylo Technologies builds AI automation systems and digital products, and its work puts delivery cadence alongside measurable outcomes rather than treating deployment as the finish line.
Use a maturity check to guide the next change. At the starting level, assign owners and log runs. Next, set baselines and risk-based alerts. Then add repeatable evaluations and connect results to business measures. Only add more monitoring tools when you can name a blind spot they will address.
By now, alerts should lead to a safe action, a recorded decision, and a useful change to the next test or release.
FAQ
What should I monitor in an AI automation workflow?+
Monitor task success, output quality, latency, cost, and whether each action completed as intended. Also watch input quality and connector health. For systems that use tools or pass work between agents, log each call and handoff. These signals show whether a workflow is online and whether it’s producing the result the business needs.
How often should AI automation be tested?+
Run your evaluation set after a meaningful change to the prompt, model, data source, or connector. Also review live performance on a set schedule that fits the workflow’s risk and rate of change. High-impact workflows may need more frequent human review than low-risk drafting tasks.
How can I detect AI automation drift?+
Compare current inputs and outputs with a baseline from known-good behavior. Watch for stale sources, missing fields, shifts in request types, or more human corrections. Don’t treat every change in data as a failure. Check whether output quality or the business result has also moved before deciding how to respond.
Do I need a separate AI monitoring tool?+
Not always. Start by listing the signals your current stack can capture and the gaps that make failures hard to find. An SDK, proxy, or existing observability setup may cover what you need. Consider a separate service when it fills a named gap and your team can support it over time.
Conclusion
Start with ownership, risk limits, and a small set of measures tied to business results. Then test changes before release and make every alert lead to a clear response. If you’re planning a new system or reviewing one already in production, talk with Zylo Technologies about the workflow and the outcome you need. Zylo responds within 48 hours and screens for fit before quoting.
Share this article
Author information coming soon.